Sunday, January 22, 2012

Secret Baby Quilt

One of my two best friends in the world is having a baby. A little girl if the ultrasound is correct. I found the green animal print when my friend was first pregnant. It is "Rainy Days" by Winky Wheeler Licensed to South Sea Imports. I fell in love and went about designing around this fabric. But, here is the rub. I really care for my friend. And, it seems the more I care for the recipient, the more I struggle with every part of the design. So, knowing this, I decided to use a pattern. I don't normally use patterns, I'm much more a 'follow my muse' sort (thanks for the quote Annie Smith). But, I decided I wanted pinwheels and to make my brain calmer, I bought "Crazy for Baby" by Barbara Groves & Mary Jacobson. I largely followed the pattern of the same name from this book (btw...the book is lovely and shows two color variations for each pattern. Lite on 'how to' but that was fine for me). 


I decided to make the pinwheels from bits of fabric I had. Notice that white fabric? That is from my stash of white 'shirting fabric' bought at a yardsale ($10 for 15 yards). To make the pinwheels, I used the method of cutting two squares and drawing a line down the middle, then sew 1/4 inch on each side of the line. Then, I cut on the line. Hope that makes sense. To piece them together, I used the following video and yielded almost perfect intersections. Woohoo. 
How to Quilt: Piecing a Pinwheel Block


That was the easy part. Then, I had to choose borders. And remove borders. And add borders...and remove them again. Notice the orange border outside the center that overlaps oddly. That's because I appliqued it down because I felt the white border was way too big. I originally used all the decorator fabric to make a scrappy border, but hated that. Remove it. I finally decided to just go with a simple white outer border with a binding made from a fabric I've had forever. 


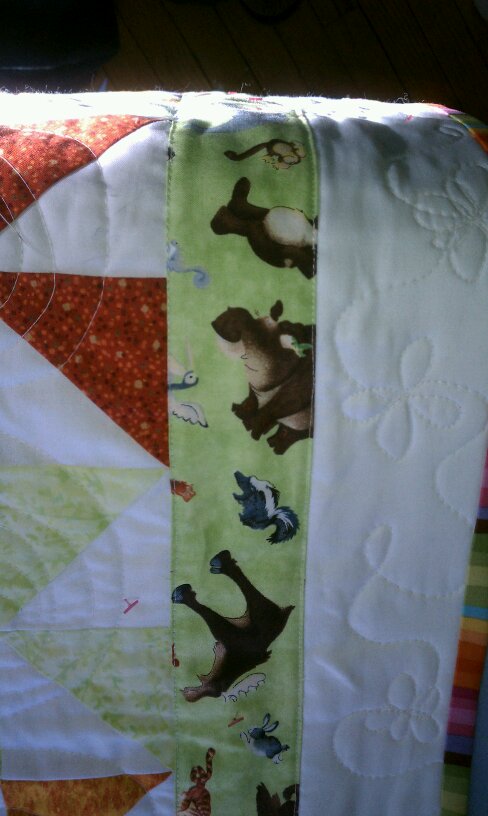
Then, I quilted it. I hated what I did in the center, but went ahead and finished the rest. I love the rest of it. The pinwheels have spirals and the outer white border has a flower motif. 


Center inspired by Paper and Ink blog, during assembly
A few hours of work later, I loved the outer border quilting but hated the middle. I made it too dense for such a busy fabric. I slept on it and decided to cover it with an applique. So, web surfing I will go (remember...can't draw anything more complex than stick figures). I found a darling paper design by Paper and Ink (Paper and Ink a blog by Jennifer Peebles). If you scroll down to "Birthday Wishes + Free Goodies", you'll see an adorable bear, elephant and bird sign. She used "Paw Pack" font set by Silhouette. Drool...a silhouette. I reorganized the elements into a stack to fit into my space. I think this is much better than the original center with its too busy quilting. 


I have done one other intensive applique project, so knew to pay attention to the 'order' I sew this down to keep the intersections looking nice. All of the sewing around the perimeter was a very narrow zigzag with white Aurafil thread. I then used my trusty Pentel gel pen to add some features. Cute.

The quilt has the binding on (sewn on the back) and I have to finish sewing on the front. Then, remove the Quilt-tacks and, I...think...I'm...done. Now, just to finish planning for her shower in a few weeks. Eek.  


I'll try to post a better picture before I give it to her. 


1 comment: